| Here is the first big day of preparations for reassembling the Worthington Compressor. First, the base pieces that would be placed on the foundation needed to be cleaned and sandblasted. Dennis Johnson, a long time Camp Creek member provides the use of his time and equipment to blast the first pieces that will be reassembled. |
 |
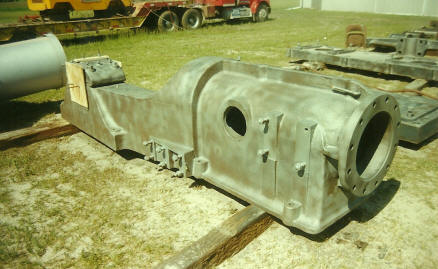 |
Pictured here is the appearance of one of the crankshaft frames after it was blasted and cleaned. The plywood was placed over the bearing to the left to protect the soft babbit lining from being damaged by the sand as the piece was blasted. |
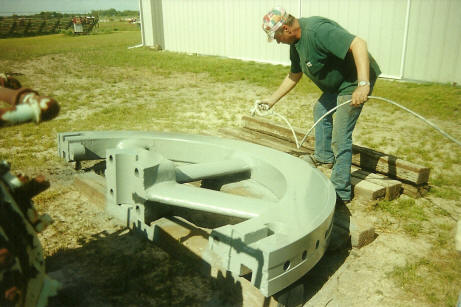
| Here you can see Camp Creek member Tom May lending his skills with his paint sprayer on one half of the Worthington compressor flywheel. All of the pieces that were blasted were immediately painted with primer to protect them until the time that the pieces would be moved into the building and placed on the foundation. |
 |
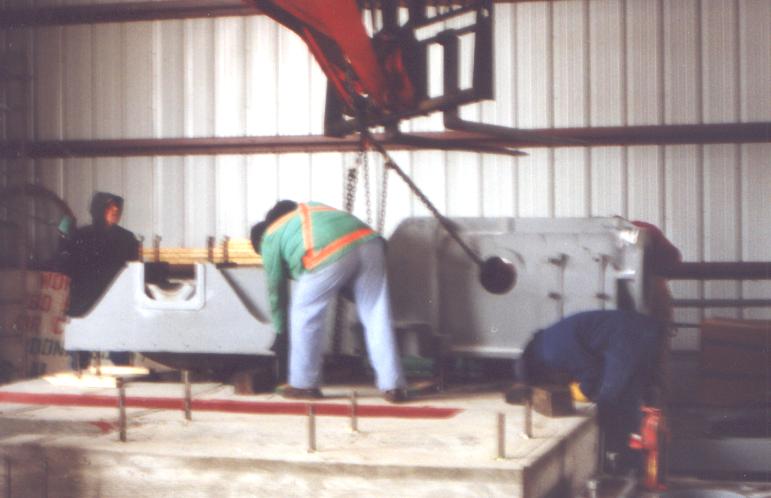 |
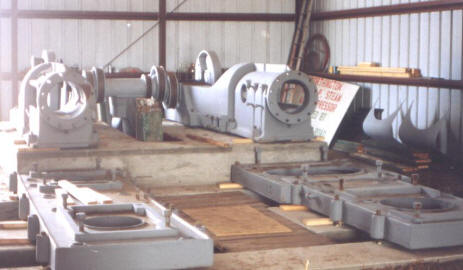
Finally on a cold snowy day in early 2003, the first pieces of the engine were brought in from outside and placed on the foundation. This was a big day and a big test of all the design preparation and careful construction that went into the foundation. |
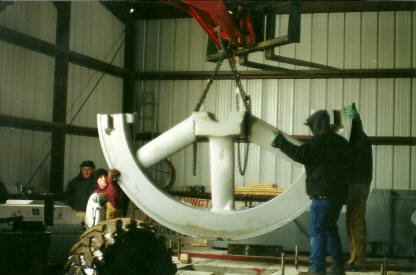
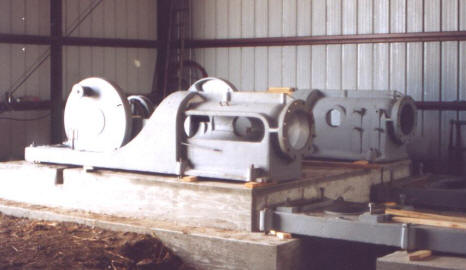
| Seen here is the lower half of the flywheel being lowered into the flywheel pit of the foundation. |
 |
|
Shown below are the lower frame pieces of the engine in place on the foundation. It was a huge relief at the end of this day to see that all 34 of the foundation bolts lined up with the castings of the engine perfectly! The pieces placed on this day included the two main bearing and crosshead frames, the lower half of the flywheel, crankshaft, and the two cylinder bed plates. A person can finally start to imagine what the engine will look like when the reassembly is completed. At this point, the work will progress on two fronts. First, aligning and leveling the mainframes and crankshaft. Second, the steam cylinders are in the process of being rehabilitated before being assembled back into the engine.
|
|
 |
 |